1/160s, f/10, ISO 640, Flash ON. Nikon D700, 24-85mm f/3.5-4.5 AF-S G at 24mm
A friend of mine decided to rent out her apartment and asked me to take a few pictures for her ad.
Always up for a few clicks, i was happy to oblige.
I like to keep things simple, so no tripods, triggers, no array of lighting, tilt shift lenses and crazy equipment. We’re talking budget amateur stuff: basic lenses (the widest you have to cover the smallest of rooms) and one off camera flash.
My flash does Nikon CLS and i trigger it with the camera’s built in master flash, you need to make sure your equipment is capable of wireless triggering. Most mid range dslrs and flashes from nikon canon and many mirrorless ILC’s have the remote trigger feature integrated these days, so take a look in your camera/flash manual for the basic settings and menus. In case that is not an option, 2 simple radio triggers from ebay, dealextreme or aliexpress should get you up and running.
1/125s, f/11, ISO 1600, Flash ON. Nikon D700, 24-85mm f/3.5-4.5 AF-S G at 24mm
So, out comes my D700, 24-85mm f3.5-4.5 AF-S G (non-VR, the old version), my go-to lens for vacations (small size), wide 24mm and overall exceptional performance. I had the 18-35mm along for the ride in case the house had any small rooms. And of course, the Nissin Di700, which does wireless and never goes wrong. Off camera flash use is critical for this type of shoot, it will be difficult to get by with the flash on camera, unless the rooms are very small.
The plan is simple: find flattering compositions, go as wide as necessary to show space and zoom in to obtain the angle of view you need for the composition.
A quick word on distorsion: kit lenses at the wide end and especially wide angle lenses exhibit considerable amounts of distortion, more prominent at the edges of the frame. Some of the distortion is easily corrected in Lightroom or even in camera if you shoot JPEGs. Nikon will do this without you fiddling with the settings and Canon will recognize the lens profile also by itself, having most of the lens profiles pre-loaded in the firmware. Of course this is only in case you use a native lens from the Nikon or Canon system respectively. Check the lens profile option in the Canon camera menu, most likely you will see it enabled and your correct lens listed. If it is not and you have a more uncommon lens, you will need to connect your camera to a computer and copy the lens profile via the EOS software provided with your camera.
We’re not aiming for the Architectural Digest with these shots so you just need to mind your perspective and watch out for warped lines towards the edges. When shooting wide angle, the smallest changes of perspective and recomposing can be very significant for your composition. For instance, the Nikon 18-35mm AF-D has dreadful distorsion which cannot be overcome even with lens profiling and manual correction in Lightroom, the only way is to move around with your eye on the viewfinder and watch what you get as you change your position.
1/160s, f/11, ISO 640, Flash ON. Nikon D700, 24-85mm f/3.5-4.5 AF-S G at 24mm
The most important thing is exposure, most likely you’ll be shooting a room with windows and daylight coming in, and you want to reflect the ambiance of the room. So, first step is: expose for the light outside, this way the windows will register correctly and won’t blow out. Start by setting the aperture to what you feel will get you the right depth of field. You’re shooting wide, so f/8 will be plenty, f/5.6 can work too if you don’t need things towards the edges of your composition in sharp view.
I’m talking about shooting handheld, so your shutter speed will need to be fast enough to minimize hand shake. Again, your shooting wide, so if you have a steady hand and you need to go really low, 1/30 can be safe enough.
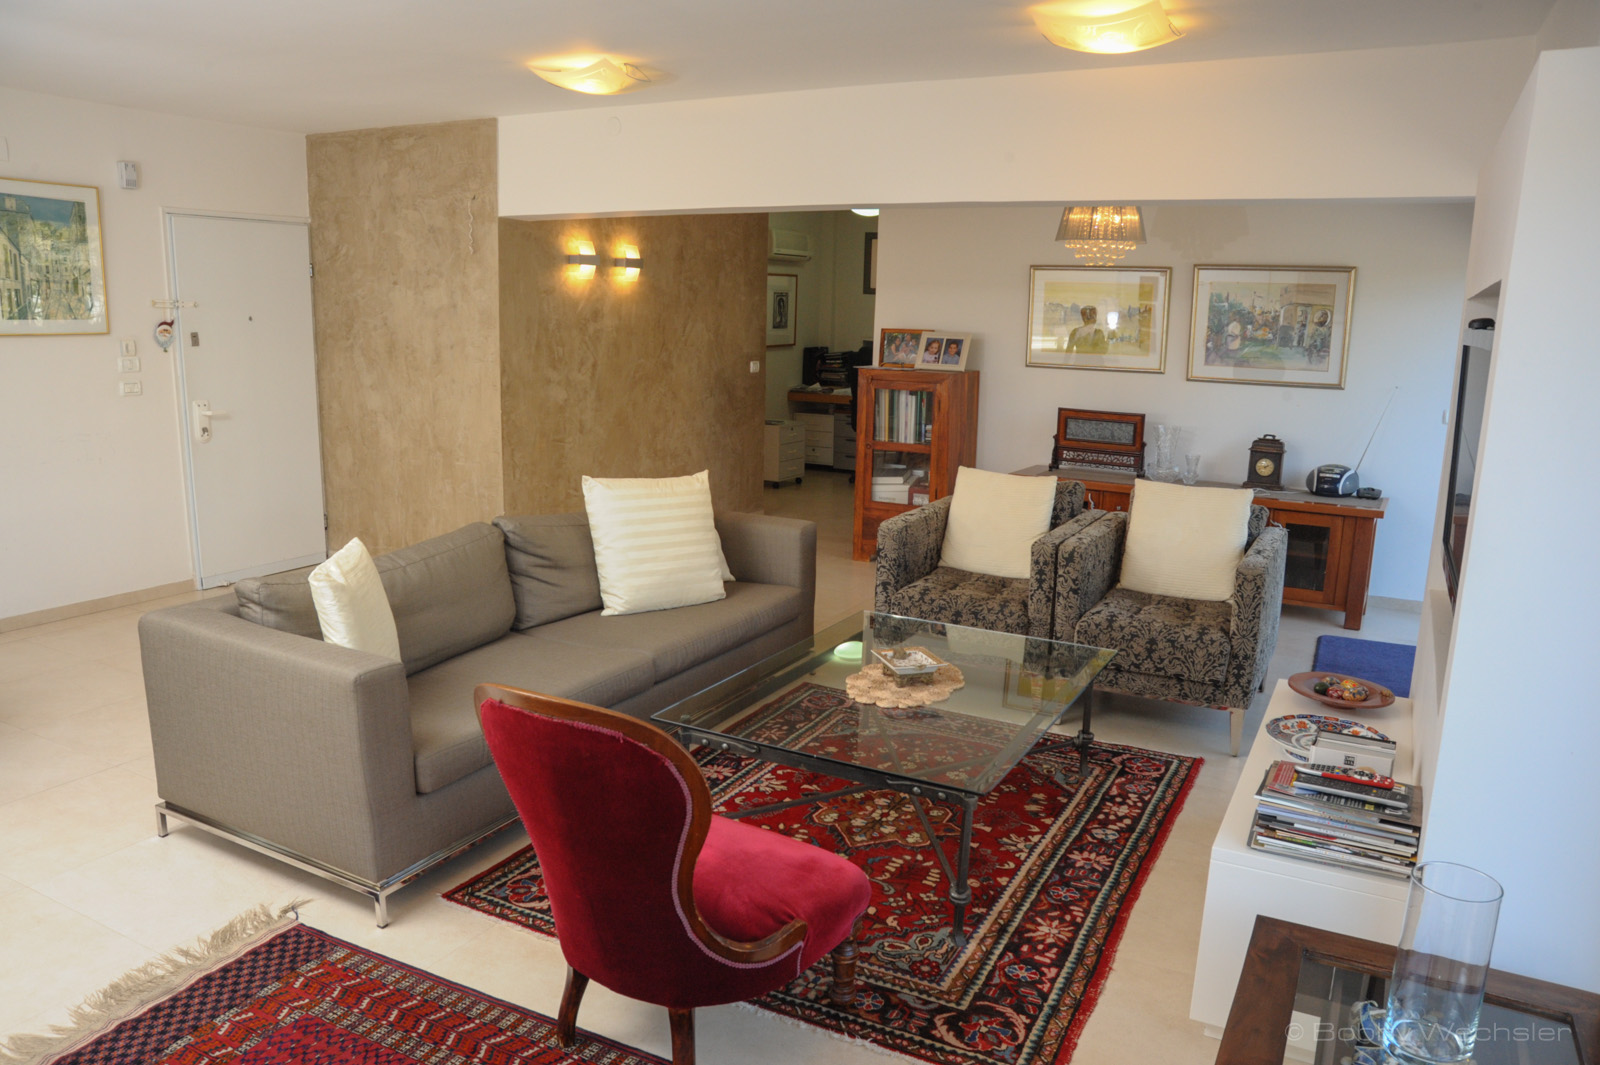
1/125s, f/11, ISO 500, Flash ON. Nikon D700, 18-35mm f/3.5-4.5 AF-D at 18mm
Start with a base ISO, you’ll tweak it later on, depending on your flash position.
Now comes the tricky part.
You need to add flash to balance the exposure inside.
Positioning will be essential. You need to place it so it won’t show in the frame directly (you don’t want a big white blob anywhere in your picture), like behind a a piece of furniture, aimed towards the ceiling so it will get as much fill around the area you need to light as possible. I almost always use a big bounce card (i like the Demb BigFlipIt), so it will light as much as possible in front of the flash position as well as bounce light around.

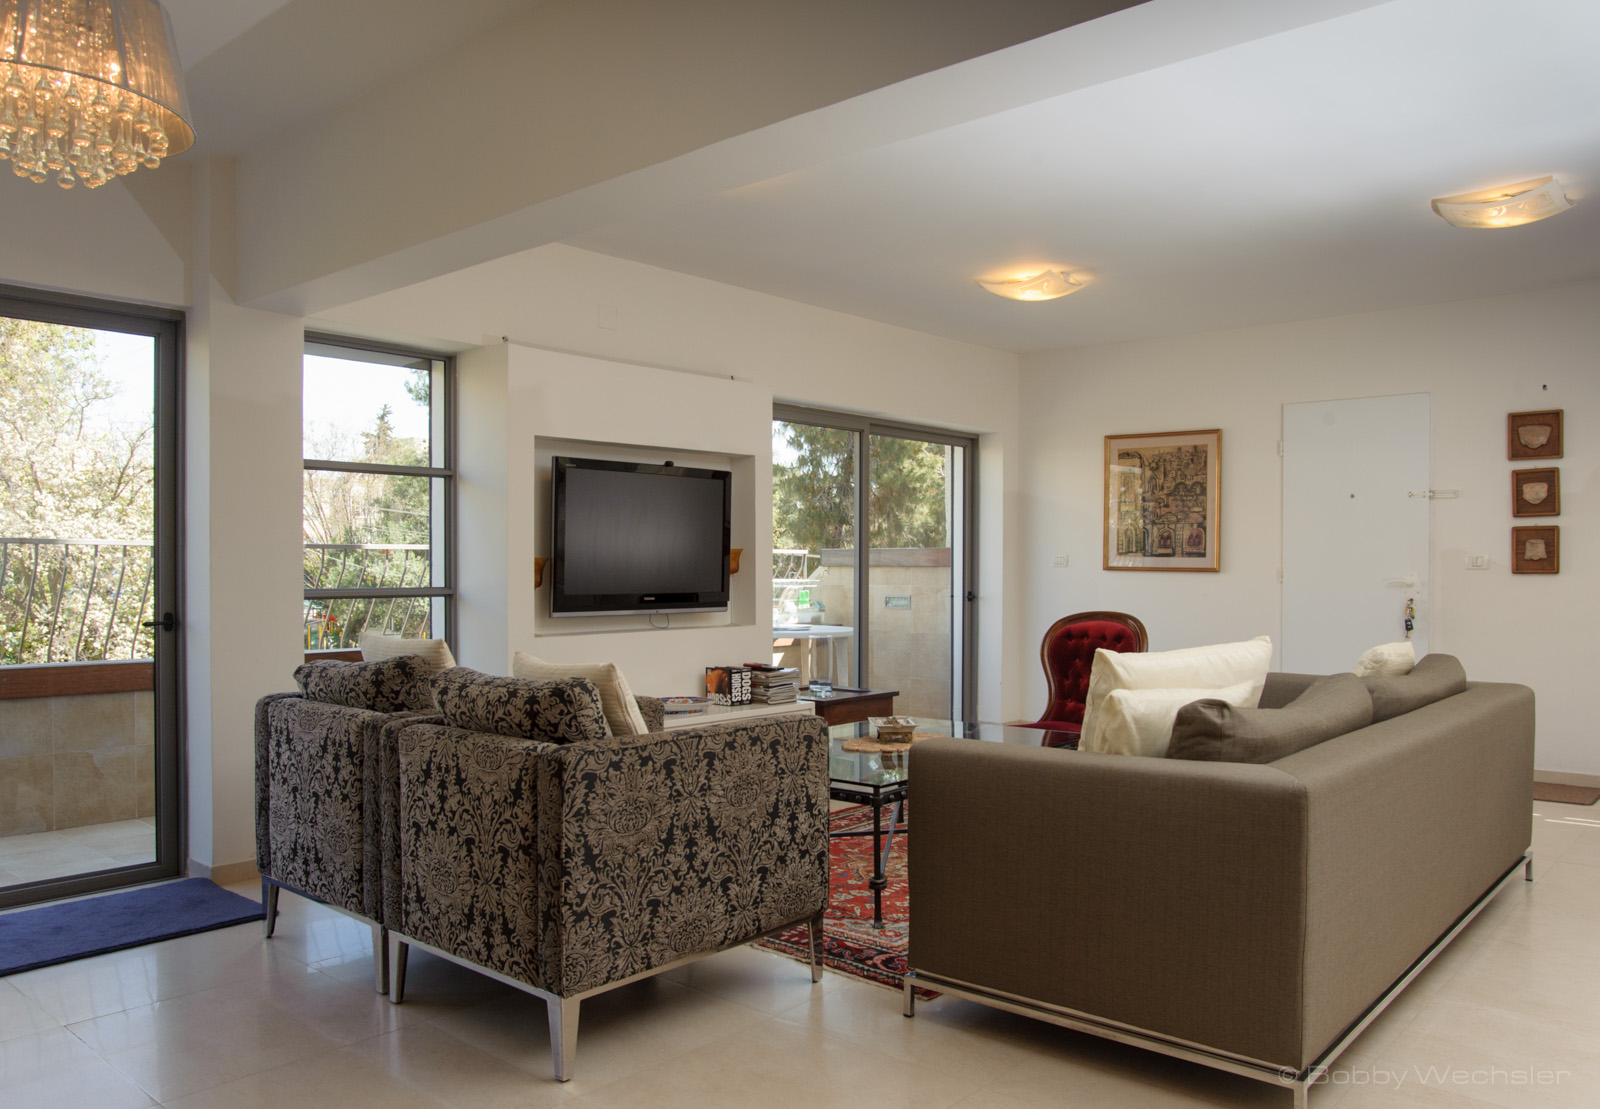
1/160s, f/10, ISO 640, Flash ON. Nikon D700, 24-85mm f/3.5-4.5 AF-S G at 24mm
In the picture above, the flash is positioned right behind the big sofa, on the far side. If you look carefully, you can see the light from the flash on the ceiling, on the upper left corner of the image. This is in fact the most difficult part of this endeavour, finding a good position that will light the dark part of the room in the best way possible.
Remember that if you need more light, your built-in camera flash can add some lighting in front of your scene too (Canons and Nikons can use the flash as master and key flash too. Oly could only use the built in flash as master, i will have to check about the new generation mirrorless cameras on that feature).
Now for the settings: ISO will influence the overall exposure, this means both the outside light from the windows and the flash-lit inside. Raising the ISO will help the flash light better if it doesn’t have enough power to light the area you positioned it for.

1/125s, f/11, ISO 800, Flash ON. Nikon D700, 24-85mm f/3.5-4.5 AF-S G at 24mm
So here’s the rule: if as you raise the ISO, the windows become overexposed, raise the shutter speed to bring down the exposure of the windows. Remember, shutter speed controls background exposure when you’re using flash. Aperture controls the flash exposure at a constant flash output, and ISO will influence all of the frame.
On the flash mode and value: really this is a matter of position and taste. I didn’t bother too much and i used it in TTL mode and fiddled with the FEC (flash exposure compensation) from the D700 wireless menu which i have on one of the “My Menu” shortcuts.
To recap the above really quickly:
- Set your aperture for optimum depth of field.
- Go with a base ISO and set shutter speed to expose for the windows.
- Position the flash and trigger wirelessly in TTL mode at first. Not strong enough? Go manual mode at full power. Too strong? You’re lucky, go down in flash power until you like what you see and you’re done.
- If full power is not enough, raise ISO and also shutter speed to keep the windows at the same exposure level.
All done.
Have fun!

Your friend is lucky to have such an amateur photographer as a friend…
Great article.
Nuki Sharir
“Positive” Israel
LikeLike